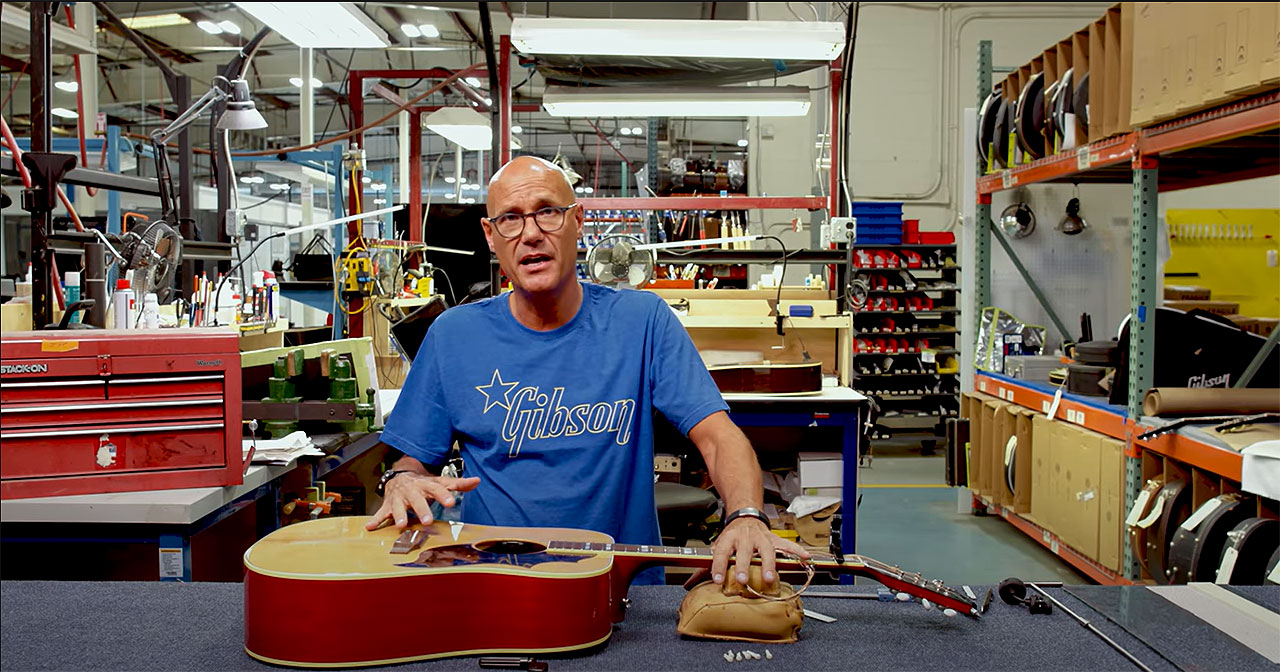
Adjusting the action on an acoustic guitar can be intimidating. Find out how to do it successfully courtesy of Gibson TV
In this episode of “Gibson’s Guide to Guitar Setup and Maintenance,” Gibson Master Luthier Jim DeCola shows you how to adjust the action on your acoustic guitar without turning it into a pile of expensive kindling.
Master Luthier Jim DeCola shares an ingenious piece of DIY technology he created to adjust acoustic guitar bridges more easily and accurately. It’s a tool anyone can make at home with a piece of smooth glass, some sandpaper, a little glue, and a small piece of wood.
Does it work? Consider, Jim is a guy who sweats thousandths of an inch. So yeah, it works.
After you watch this video, you’ll be able to adjust the action of your acoustic guitar—lower or higher—with relative ease. Jim also covers what to do in a gigging situation where your action is thrown off, but you don’t have the time, the benefit of a workbench, or your own guitar tech. And if you’ve ever wondered, “What would Jim do?,” if a sudden change in humidity threw off your action, you’re about to find out.
What does “acoustic guitar action” mean?
If you are reading this article and wondering what all this means, “action” in the context of an electric or acoustic guitar refers to the string height relative to the fretboard.
A low action promotes easy playability, but too low and your guitar will fret out, meaning that there will be unwelcome buzzing or choking on the upper frets. A higher action can be harder to play—especially for beginners—but some argue that it delivers a purer tone, and it’s definitely the way forward if you are playing slide.
For more detailed information on guitar setup and maintenance, or more complicated DIY repairs, be sure to check out Gibson’s FREE Virtual Guitar Tech service.

