Basic functional elements of our instrument we should all know and understand
I. Introduction
For many guitar players, there’s a knowledge gap between a guitar that sounds great and plays well and how and why it got that way. Acoustic guitars can be subject to imperfections in their setup and maintenance that can make playing an unpleasant or even embarrassing experience. Most of us aren’t luthiers and don’t possess the tools and knowledge to keep our instruments in fine playing shape. And that’s alright because when the creative urge strikes, nobody wants to be taken out of the moment by technical shortcomings and searching for obscure tools.
But there are basic functional elements of our instrument we should all know and understand, and close to the top of that list is intonation. In short, intonation is the ability of an instrument to achieve accurate pitch across the entire fretboard. This is also known as a guitar being “in tune with itself.” Determined by the length of the string from the bridge to the 12th fret, proper intonation is critical to having an instrument deliver the notes you expect, wherever your fingers are on the neck.
Video: Gibson Master Luthier, Jim DeCola, offers pro tips that will make the process of changing strings and tuning efficient
II. Understanding Intonation
A) What is Intonation?
When a guitar is properly intonated, wherever you fret a note (or harmonic) on any string, it will be pitched accurately. If your intonation is off, the open strings may be in tune, but fretted notes and harmonics are not. So, for example, while an open A major chord might sound fine, that same A major in the form of a 5th-fret barre chord will sound dissonant. As any guitar player knows, an out-of-tune note, whether played as part of a chord or in a lead pattern, is immediately recognizable, even to non-musicians. Whether writing, performing, or recording, those non-harmonious notes aren’t something any guitarist (or audience) wants to experience.
B) Causes of Poor Intonation
Poor intonation can be caused by a number of different factors. First, the choice of strings can be problematic for a particular instrument depending on their gauge and the amount of tension they create. Experimenting with strings is good for finding your personal preference, but be aware that switching to heavier-gauge strings will require adjustments to your guitar’s setup in order to be properly intonated.
Action, or the height of the strings over the fretboard, also has an effect on intonation. If the action is set too high, fretting a note stretches the string too much, causing it to be sharp. While lower action is desirable for a more comfortable playing experience, setting it too low will result in fret buzz and incorrect intonation. Setting the action properly is about finding the correct balance between comfort and the desired sonic characteristics of the instrument, including the intonation.
Neck relief, adjustable via the truss rod, can be another source of improper intonation. Because guitar necks are made from wood, they are subject to bending and flexing due to changes in temperature, humidity, and other atmospheric conditions. Different string gauges can also require a truss rod adjustment. If equipped with an adjustable truss rod (most modern instruments are), the neck can be straightened to create the right amount of relief.
C) Identifying Intonation Issues
Depending on your particular style of play, it may not be immediately obvious that your guitar isn’t intonated properly. For example, a rhythm player who mainly stays in the first position of the fretboard may not hear non-harmonious notes until venturing further up the fretboard. However, you don’t need to wait until you’re playing to check if your instrument is properly intonated.
Some clues will be evident if your intonation is off. Listen for chords that sound out of tune, especially when others sound correct. Another sign of poor intonation is a tonal discrepancy between an open string, the fretted note on the 12th fret, and the 12th fret harmonic. If they are not identical, chances are your intonation is off.

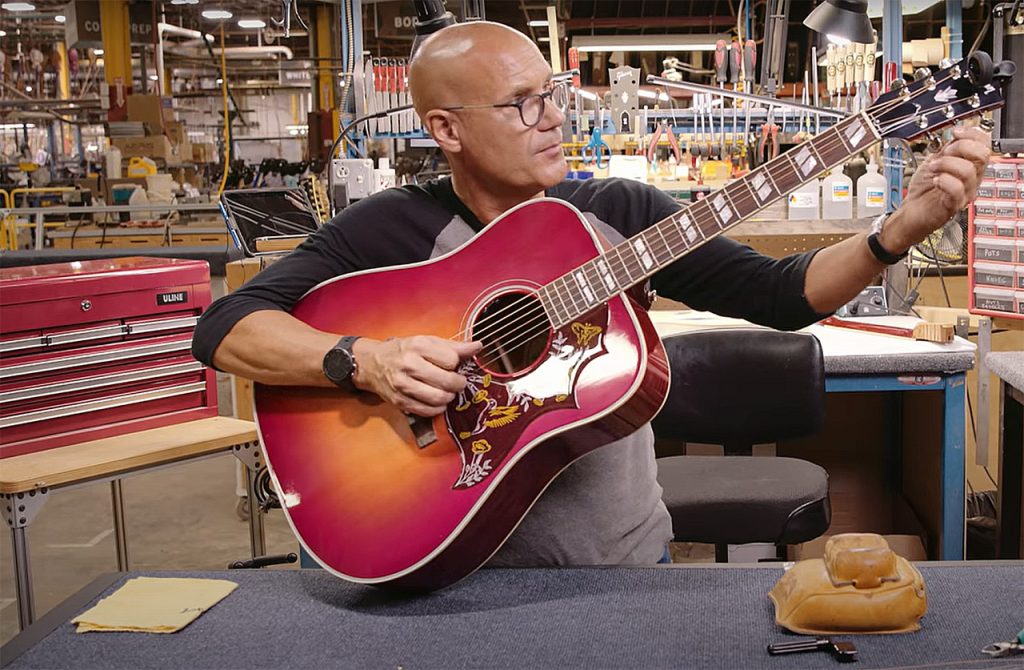
Image: Master Luthier, Jim DeCola, tuning up an acoustic guitar after installing new strings
III. Adjusting Intonation
A) Truss Rod Adjustment
A truss rod is a metal rod that runs through the neck of a guitar, designed to adjust the relief, or curvature, of the neck itself. As the strings exert tension on the neck, the truss rod’s job is to reduce or increase the relief to achieve proper neck balance, equal action, and consistent string tension across the entire fretboard.
As neck relief increases, the neck bows and the action becomes higher at the middle of the neck, leading to sharp fretted notes due to increased stretching of the string. Conversely, less relief lowers the action as the neck flattens. While this may improve intonation, it can also lead to fret buzz, so finding the right balance is key.
Adjusting the truss rod is fairly straightforward, but there are some things to remember before you start. First, consider your own level of expertise and knowledge. It’s always better to play it safe and take your prized guitar to a qualified repair shop if you’re unsure of your abilities. If you’re confident in your abilities and willing to proceed slowly and carefully, assess if your instrument needs more or less neck relief. If it needs more, you’ll want to loosen the truss rod by turning it counterclockwise. If you need to lessen the relief, you’ll tighten the truss rod by turning it clockwise. Second, and perhaps most important, always make small adjustments to the truss rod! A good rule of thumb is to never make more than an eighth to a quarter turn each time, regardless of direction. Finally, the instrument needs time to settle after each adjustment, so don’t expect immediate results. Wait at least an hour after each adjustment to give the instrument time to react to the change in tension. And remember, there’s nothing wrong with leaving it up to a professional if it’s too daunting!

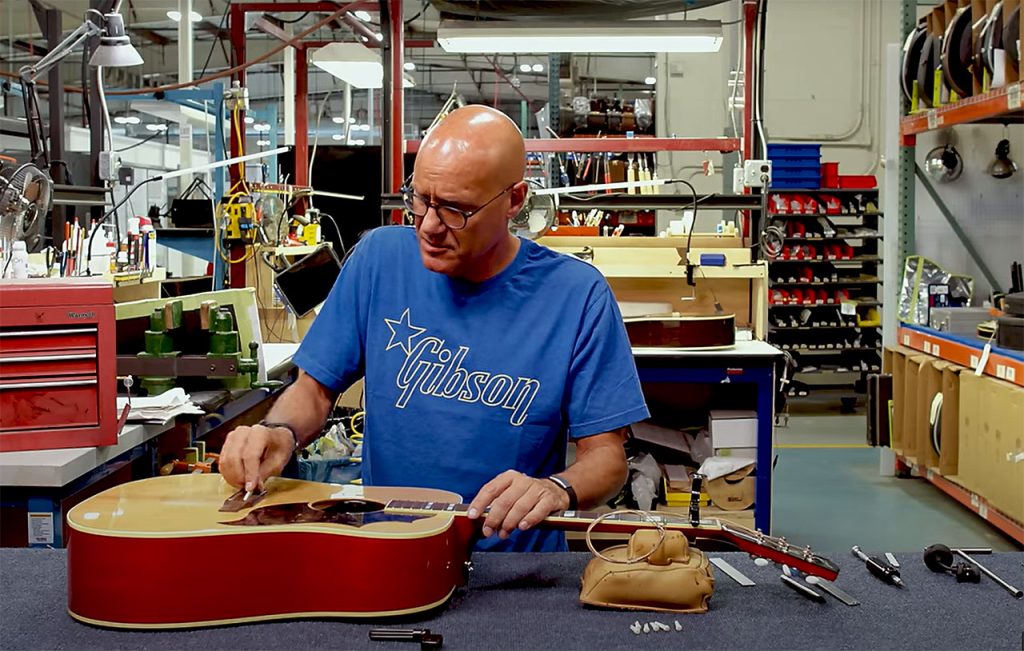
Image: Master Luthier, Jim DeCola, at his workbench testing the saddle height on an acoustic guitar
B) Saddle Adjustment
Adjusting the saddle on your acoustic guitar to improve intonation involves fine-tuning the length of each string to ensure the correct pitch at every fret. Unlike electric guitars, which often have individually adjustable saddles, acoustic guitars typically have a fixed saddle that may need to be compensated or repositioned. Here’s a step-by-step guide on how to make these adjustments:
1. Check current intonation: Be sure your guitar is in tune, then play a harmonic at the 12th fret of each string and compare it to the fretted note at the same fret. If the fretted note is sharp or flat compared to the harmonic, intonation adjustments are needed.
2. Identify problematic strings: Determine which strings have intonation issues. A string that frets sharp at the 12th fret needs its saddle point moved back (increasing string length), while a string that frets flat needs its saddle point moved forward (decreasing string length).
3. Remove the saddle: Loosen the strings enough to remove the saddle from the bridge. On most acoustic guitars, the saddle is a small piece of material (usually plastic, bone, or synthetic) seated in a slot on the bridge.
4. Shape the saddle for compensation: Use a pencil to mark the points on the saddle where adjustments are needed. For a string that’s sharp, you’ll need to remove material from the back side of the saddle at that string’s contact point. For a flat string, remove material from the front side of the saddle. Use a fine file or sandpaper to carefully adjust the saddle, removing small amounts of material while checking the fit and intonation frequently. You might need to create a slight angle on the saddle to improve contact points.
5. Reinstall the saddle and check intonation: Place the modified saddle back into the bridge slot and retune the guitar. Check the intonation again by comparing the 12th fret harmonic and fretted note. If necessary, repeat the adjustment process until the intonation is correct. Once you’re satisfied with your saddle adjustments, check the overall playability of the guitar. Ensure that the action remains comfortable and there is no fret buzz present.
As with truss rod adjustments, it’s important to take your time and make only minor adjustments to the saddles each time. Be sure to check the action frequently as you make adjustments to be sure it’s not too high or too low. With careful saddle adjustments, you can intonate your guitar and ensure it’s in tune across the entire fretboard.

Image: Epiphone Inspired By Gibson acoustic guitars are ready for stage and studio
C) Nut Adjustment
Adjusting the nut on an acoustic guitar significantly impacts string placement and intonation, particularly for the notes played on the first few frets. The nut impacts the spacing and height of the strings over the fretboard, so if the slots are too high, pressing the strings down to fret a note can cause the note to go sharp due to the increased tension. If the slots are too low, it can lead to buzzing and poor playability.
To optimize intonation, the string slots on the nut should be filed to the correct height, allowing the strings to sit just above the first fret without buzzing. Practical tips for filing nut slots include using a set of files that match the gauge of each string to ensure a precise fit. File at a slight angle, following the string’s path to the tuners, to maintain proper string alignment and avoid binding. Frequently check the action at the first fret by pressing down on the second fret and observing the gap between the string and the first fret, aiming for minimal clearance.
Video: Gibson Master Luthier, Jim DeCola, teaches you how to professionally adjust the action of your acoustic guitar
IV. Fine-Tuning Intonation
A) Using Electronic Tuners
An electronic tuner is perhaps the best friend a guitarist can have when it comes to making sure your instrument is properly intonated. As mentioned before, one of the easiest and most effective ways to spot-check intonation is with the fretted note and the harmonic at the 12th fret. While they may sound “close enough” to your ear, it’s imperative that these notes all match the open string. An electronic tuner’s precision gives you that certainty.
B) Checking Intonation Regularly
Regular intonation checks should be part of your practice and gigging regimen. If you play regularly, check it once a month at a minimum, as subtle changes in the instrument’s setup from playing can affect intonation. Seasonal temperature and humidity changes can also trigger changes in your instrument that may affect its intonation, so as the weather changes, it’s a good idea to make sure you’re properly intonated. Also, keep this in mind if you travel with your instrument to a different climate. Remember, it’s easier to make minor adjustments than to wait until your instrument is completely out of whack.
V. Advanced Techniques
A) Compensated Saddles
If your acoustic guitar requires extensive saddle adjustments, or if you frequently encounter intonation problems, you may want to consider replacing the standard saddle with a compensated saddle. Compensated saddles are designed to address intonation issues through precise adjustments to string length. Unlike standard, straight saddles, compensated saddles have a staggered or angled design, with individual adjustments for each string’s contact point built-in. This design can correct any natural intonation discrepancies caused by differences in string gauge and tension.
Various types of compensated saddles are available, including drop-in replacements that fit existing saddle slots and more advanced versions custom-shaped for specific guitars. Some are pre-manufactured with common compensation patterns, while others are handcrafted for precise tuning.
The benefits of using compensated saddles include improved overall intonation, enhanced harmonic accuracy, and a more consistent playing experience, especially for chords and higher fret positions. By optimizing string lengths individually, compensated saddles help maintain perfect pitch and tonal balance, making them a valuable upgrade for guitarists seeking the best possible sound from their instrument.

Image: The Gibson Miranda Lambert Bluebird features a compensated saddle for better intonation
B) Ear Training
One of the most essential tools a guitarist can have is a well-developed ear. Be aware of how your instrument sounds at all times, especially if you’re playing with other musicians. It’s important to stay tuned in to the sound of your guitar as you play and pay attention to dissonant notes coming from your instrument. It may just be an out-of-tune string, but it could also mean intonation troubles. Also, keep your ears open for any buzzing or other sonic anomalies that could point to issues that need addressing.
VI. Conclusion
Hopefully, this article broke down the mystique of intonation issues that many players experience. Although it can seem technical and complicated, keeping your instrument intonated isn’t as hard as it seems provided you take your time to learn how to diagnose and properly resolve any issues. As musicians, we should be the first to notice harmonic dissonance, not the audience. So remember to pay attention every time you play, use your tuner to check intonation frequently, and develop your ear to get ahead of poor intonation and always sound your best. If the steps outlined earlier still seem too intimidating, your local guitar store will likely have a trained tech who can set your instrument up properly. You can also contact Gibson through the Virtual Guitar Tech program for free assistance and guidance with basic guitar setup and intonation information.
Get many of the tools you’ll need to keep your guitars in tip-top shape here, and explore other articles where Jim DeCola explains the best guitar maintenance practices.

