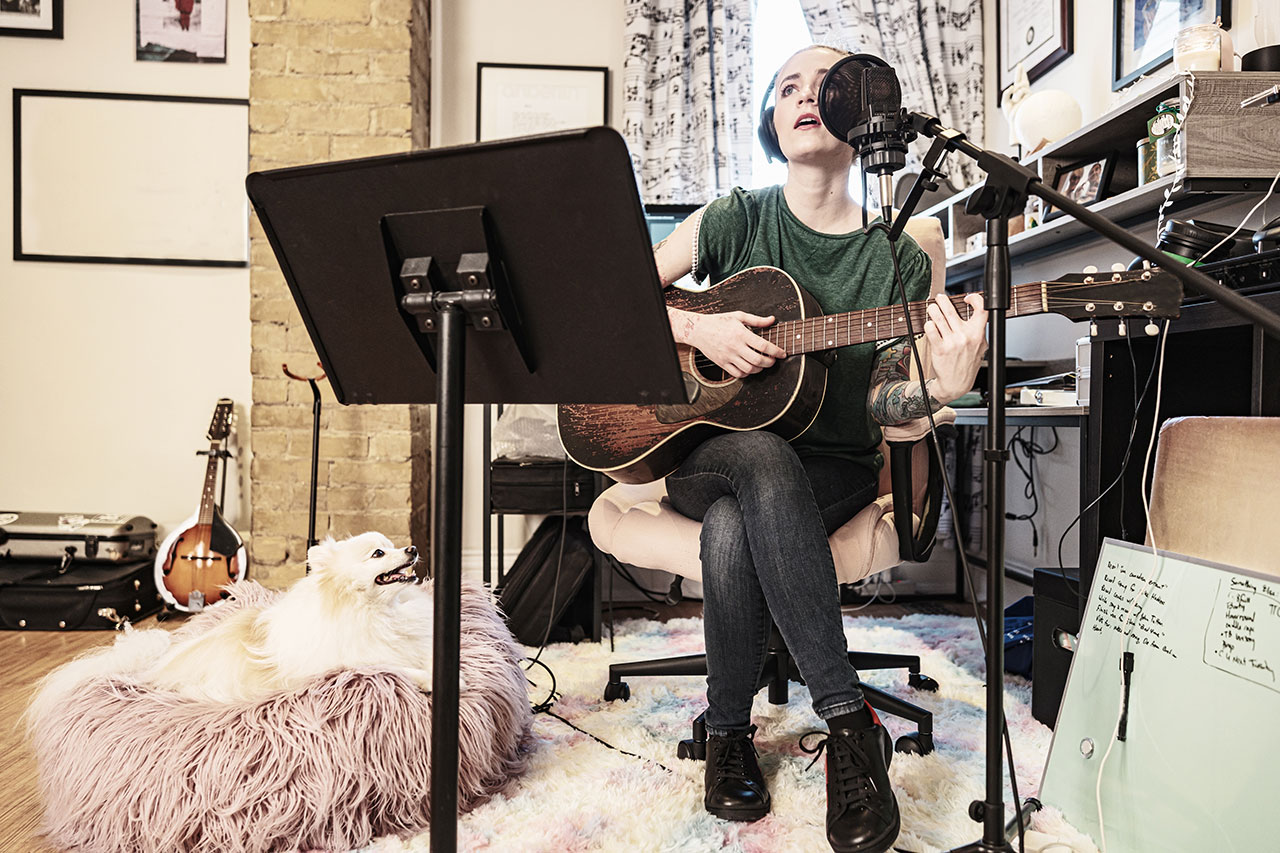
It’s never been easier to record professional-quality acoustic guitar sounds at home. Find out how in this in-depth guide
The technological advances of the past 25 years have touched us all in countless ways. For musicians, it means the ability to make high-quality recordings at home, democratizing what was once accessible only to artists with record deals. Today, home recording is not just a practical option—it’s an essential part of the creative process for many musicians, regardless of genre.
From singer-songwriters to folk ensembles, recording acoustic guitar at home allows artists to refine their sound on their own terms, offering creative freedom without a hefty studio price tag. Recording studio-quality acoustic guitar sounds might seem costly at first, but with the proper setup, gear, and techniques, you can capture professional results without breaking the bank.
Treat your space
The first thing to take a closer look at is your creative space. In the age of the laptop studio, that could be anywhere, and you should experiment with different locations. Still, if you’re going to capture an acoustic guitar properly, it’s important to be aware of the acoustics of the room you’re recording in.
In general, smaller rooms with lower ceilings are often easier to treat for sound quality than large, open spaces. The two main issues to avoid are untamed reflections and corresponding flutter echo and unwanted noise, with empty space and bare, parallel walls being the biggest culprits that lead to those issues.
Rooms with plenty of soft surfaces, like carpeted bedrooms or rooms with fabric-covered furniture, work well to absorb some of the sound reflections. Try to secure a space that already has sound-absorbing items like furniture, curtains, and rugs, along with untreated hard surfaces that sound waves can bounce off.
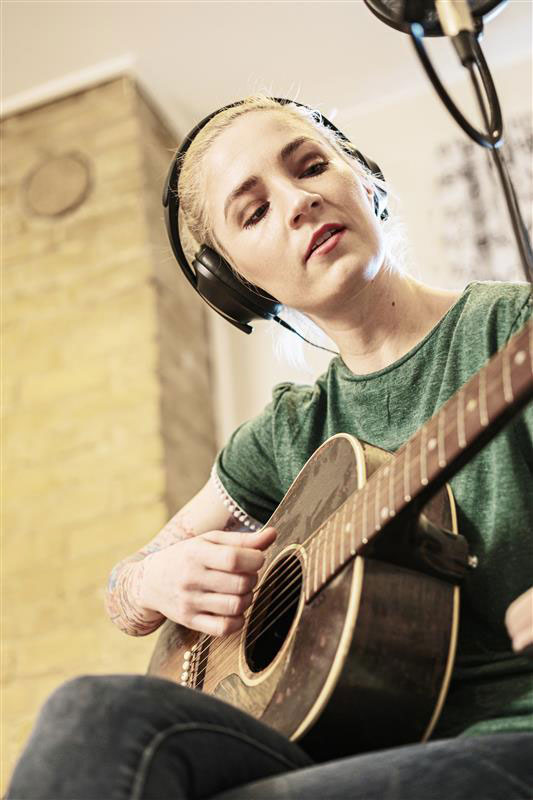
Image: Checking your instrument’s level and stereo placement is crucial. © Getty Images/FOTOGRAFIA INC.
There are several off-the-shelf options for sound-deadening acoustic treatments, typically in the form of dense, open-cell foam or fabric-covered compressed fiberglass panels you can affix to walls, the ceiling, or any other surface that needs it. While panels like this can give your space more of a professional look, they do come at a cost.
Budget options like thick blankets or comforters on walls or draped over boom mic stands set in a “T” configuration, stacked pillows in corners, and even hanging coats can make a surprising difference in taming reflections and reducing flutter echo by creating softer surfaces that improve the recording environment. While these DIY methods may not look as sleek as professional acoustic panels, they go a long way toward achieving clean acoustic guitar sounds.
Gear up for success
While basic acoustic treatment can be done on the cheap, gear quality is critical when it comes to capturing great sound, so don’t short-change yourself. Prioritize your budget to make the most significant sonic impact, from the microphones you choose to the preamps in your audio interface and the cables you use to connect them.
Sound sources matter
The most important element when it comes to getting great acoustic guitar sounds (other than the guitarist!) is the guitar itself. All the studio magic in the world won’t turn a poor-sounding instrument into a great-sounding one, so use the nicest-sounding guitar you can get your hands on.
For players on a tighter budget, Epiphone’s Inspired by Gibson and Inspired by Gibson Custom collections offer all-solid-wood models inspired by some of the most cherished Gibson designs at accessible price points. If you want the intimate, bluesy sound of a small-bodied parlor guitar such as the Gibson L-00, a jumbo like the SJ-200 isn’t going to give it to you, so make sure you’re using an appropriate guitar to deliver the type of sound you want. Doing this will make capturing the sound you’re after much easier when recording.
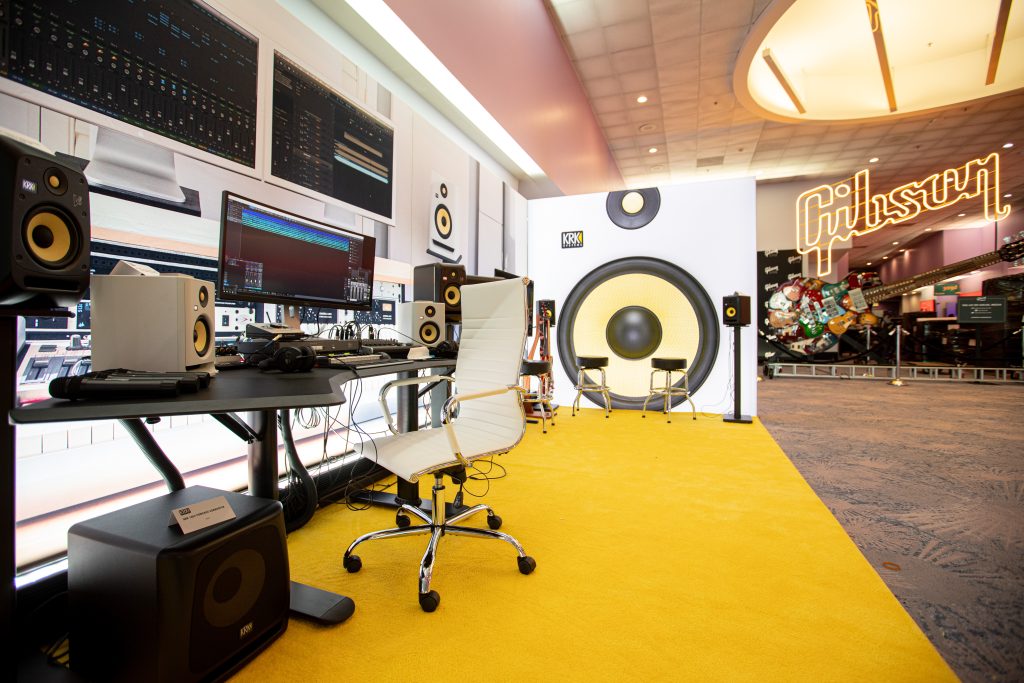
Image: KRK offers tremendous value in accurate studio monitoring for your acoustic recording experience
Computer and audio interface
Most modern audio interfaces, even budget-friendly models, boast preamp specs and low-latency performance suitable for a home studio. Faster connectivity, better CPUs, and increased RAM in today’s computers and tablets also enhance stability and make it easier than ever to get great recordings.
If your computer or interface is outdated, consider upgrading, as these components are crucial to a successful recording session. Although you can get by with a single input, a two-input interface will allow you to experiment with stereo miking techniques or record two sound sources simultaneously.
Recording acoustic guitars, the easy way
Many of today’s acoustic guitars have onboard pickups and electronics or even built-in microphones that allow you to plug straight into your computer audio interface using only a guitar cable. Many interfaces include a high-impedance instrument input for just this purpose.
If yours doesn’t, you can get a direct box to perform the same basic function. While using outboard microphones usually results in a more natural acoustic sound, “going direct” has certain benefits, such as not needing microphones or stands, no worries about external noise from your neighbors ruining an otherwise flawless take, and no concerns about where to place the microphone for optimal sound.
If your acoustic guitar has a built-in pickup or microphone, consider recording that to a separate track, along with external microphones when you record. This can give you additional tonal options when you mix the song later.
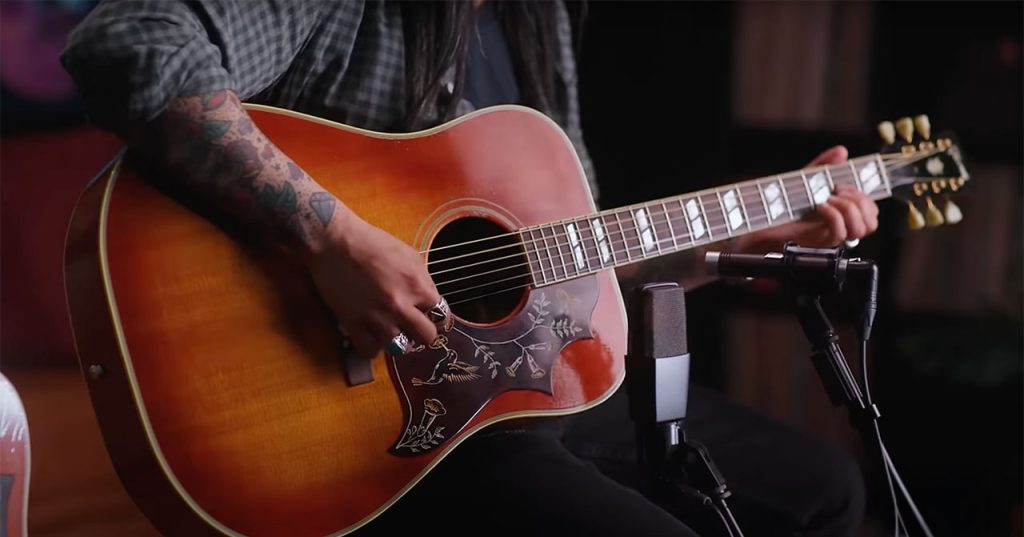
Image: Microphone placement is an art unto itself
Microphones
Aside from your guitar, the microphone you choose is one of the most important factors in achieving stellar-sounding recordings. Small and large diaphragm condenser microphones are studio standards for recording acoustic guitars. As with most gear, the sky’s the limit when it comes to price, but there are options, even in the $100 range, that will get the job done in your home studio.
Dynamic microphones can also be an option, especially if your space isn’t optimally treated; although in most recording situations the warmth, openness, quick transient response, and wide frequency range of a condenser microphone are preferred, a dynamic microphone can sometimes be more forgiving of less-than-ideal room acoustics.
Microphone placement
So, where should you put the microphone? There are countless approaches you can try, but one time-tested technique is to put it about 12–18 inches away from your guitar and right at the 14th or 12th fret, wherever the neck joins the body. Placing it right in front of and pointing straight at the neck/body joint will usually give you a well-balanced acoustic tone, but if you want a sound with more bass, you can keep the placement and distance the same and angle the mic so it points a bit more toward the direction of the sound hole.
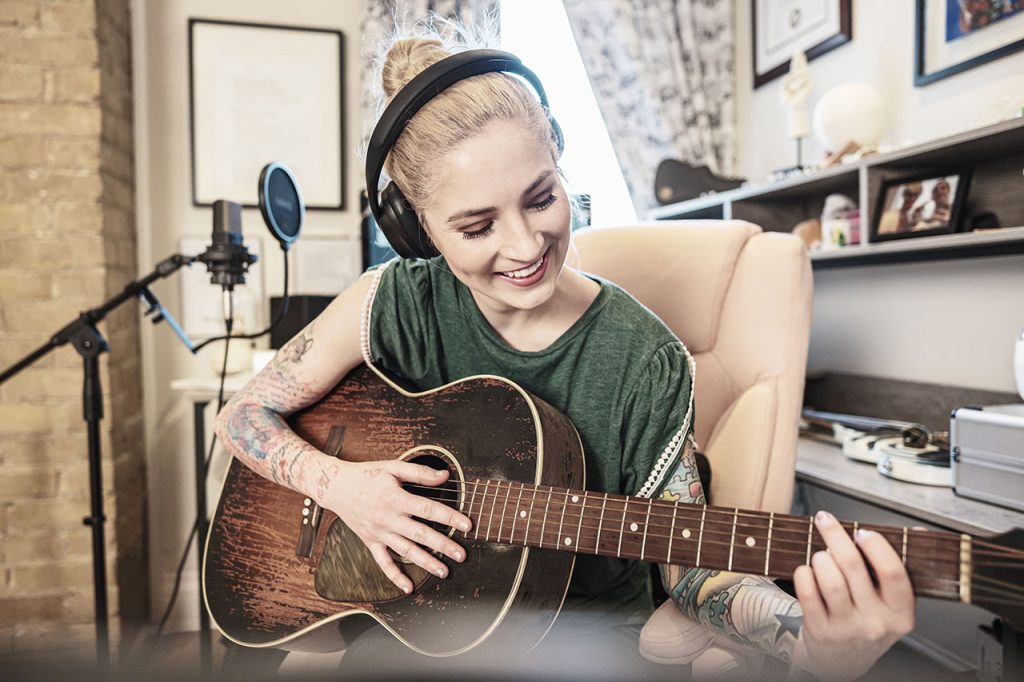
Image: For some musicians, production is a favorite part of the creative process. © Getty Images/FOTOGRAFIA INC.
However, be aware that pointing a microphone directly at the sound hole can often lead to an overly bass-heavy recording, especially with a dreadnought or jumbo. If you want to experiment with stereo miking, you can add a second microphone. You should place it the same distance away from the guitar as the first mic and aim it at the body just behind the bridge plate.
Again, experiment by adjusting the angle of the mic to achieve different tonalities. Another stereo technique that can deliver good results is using an XY stereo pair (two identical microphones with the capsules placed right next to each other, with the microphone bodies at right angles to each other) and aimed at the same place as you’d use for a single microphone—about 12-18 inches away from the neck/body joint.
Bit depth, sample rates, and recording levels
While optimum recording levels differ depending on the type of recording device you’re using, most people today are using digital recorders instead of analog tape decks, so the advice here will apply only to digital recorders and DAW apps. Whenever possible, record at 24-bit resolution, with at least a 44.1 kHz sample rate. Most modern DAW software, apps, and recording interfaces support these settings.
Your average recording levels should sit at about -18 dBFS on the meters. Occasional peaks can exceed that level, but they should never hit 0 on the meters or flash the red “over” indicators. Unlike analog recording, you don’t have to slam the levels to get a good sound; digital distortion is not desirable, and with a 24-bit recorder, you have plenty of headroom, so keep the levels in this range for optimal sound quality.
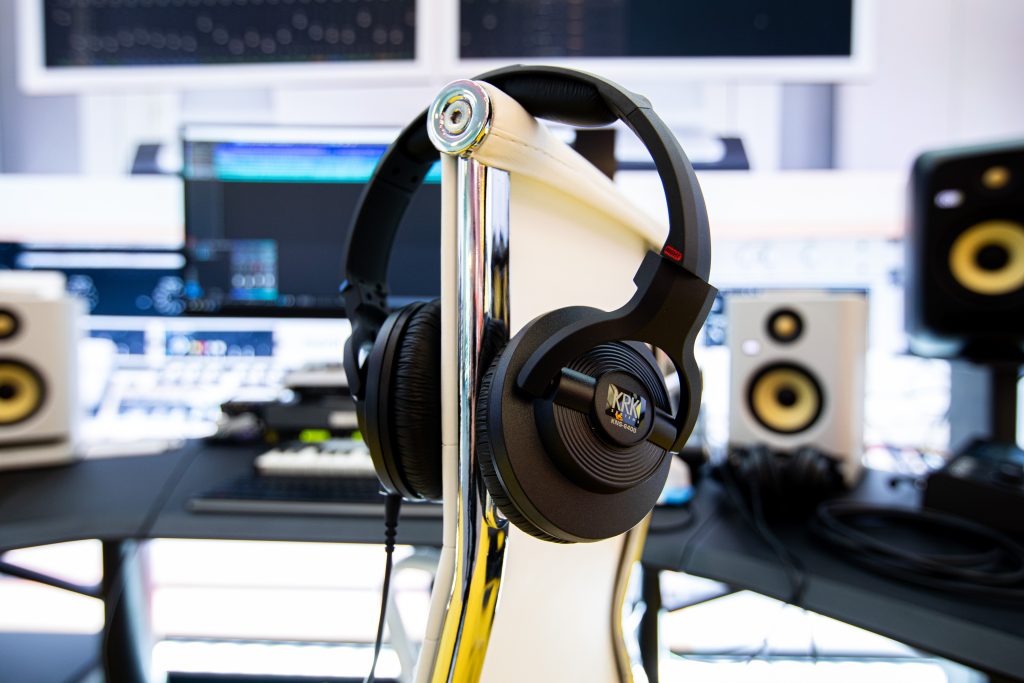
Image: KRK Headphones provide a precise listening experience
Stands, cables, and accessories
Even on a budget, a functional recording space should allow creative freedom by covering the essentials. In the age of the DAW and home recording, musicians are no longer just there to play music. You’re now the artist, producer, engineer, and tech support, so don’t underestimate the importance of having proper stands, connectors, cables, and other accessories that will keep you in the creative flow and give you the freedom to capture your acoustic at its best.
You’ll also need a good set of headphones, since you must mute your monitor speakers while recording. Wedging a mic in the couch cushions may technically keep it in place, but that won’t deliver the best results. When choosing mic stands, consider if you’ll need a boom stand (useful for more flexible positioning) or a straight stand (often sturdier for stationary recording setups with heavier microphones).
Select affordable but reputable cables to ensure the cleanest sound, as low-quality cables can introduce unwanted noise, hum, or static. These are small but essential investments to make in your home recording space.
Focus on the performance
You have the right gear in place, the mics are positioned perfectly, and you’re ready to track. Or are you? It’s easy to get bogged down in the technical side of recording to the point where you forget the most important factor—your performance. Taking these steps before you hit record will only make your guitar and playing sound better.
Some producers insist on fresh strings for recording, others prefer the sound of an old, well-played set. There’s no right or wrong and if it sounds good, it is good. If you are planning to change your strings, it’s best to put them on a day or two before you’ll be tracking to give them time to stretch and for tuning to stabilize. Tune and intonate your guitar properly, and be aware of the way you play each part.
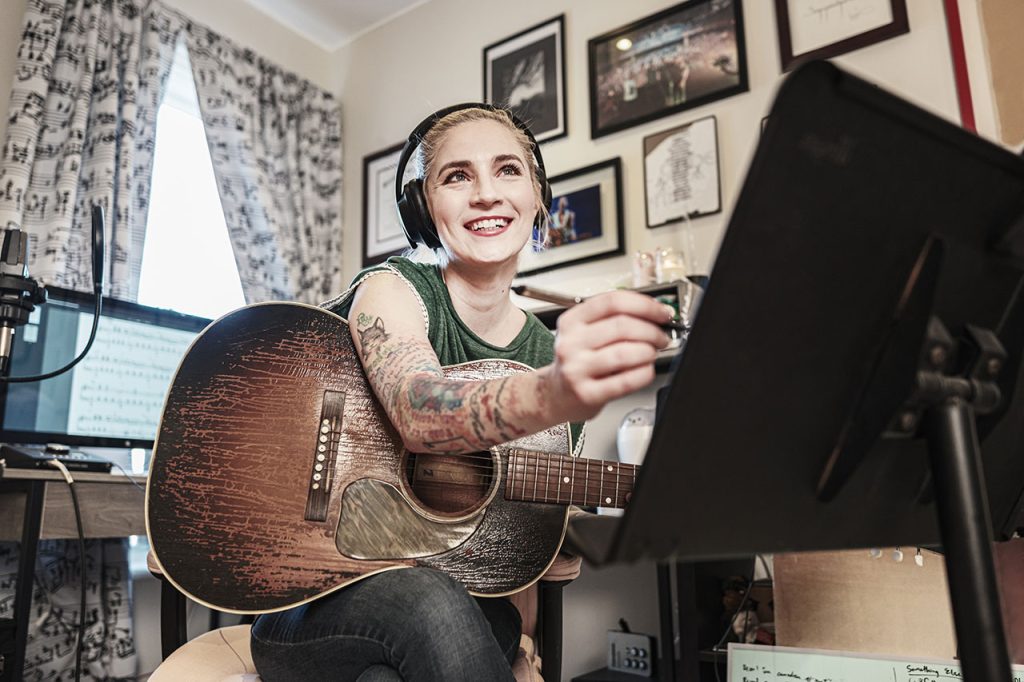
Image: Songwriting is just as much a part of the studio experience as anything else—don’t be afraid to experiment with arrangements! © Getty Images/FOTOGRAFIA INC.
Different techniques, such as fingerpicking or flatpicking, can have a dramatic impact on the recorded sound, as well as your recording levels. Where you play on the fretboard or strum on the body of the guitar will also change the tone and add subtle details unique to acoustic guitar recording.
Finally, run through what you’re about to record a few times to warm up, but make sure you hit the record button in case you nail the part first time. If you don’t? Relax and stay loose! The best performances combine precision with passion, so be confident in your ability, enjoy yourself, and let rip.
Mixing and effects
Once you have the takes you want, effects plugins such as EQ, compression, and reverb can be important tools to bring out the best in your acoustic guitar’s sound, as well as the overall mix. Use EQ to pinpoint frequencies that can add extra sparkle and tame unwanted overtones. A high pass filter, set at around 80-100Hz, can help reduce muddiness in the low end.
Compression can be used to smooth out volume spikes, ensuring a balanced, polished track. To add a unique sonic character to your recordings, experiment with light modulation effects such as chorus and time-based effects like reverb and delay until you find your ideal sound. When used properly, these effects can add motion, depth, and space, giving your acoustic guitar recordings a larger soundstage without overwhelming the natural tone.
Your DAW most likely includes these effects, so get started with what you already have rather than immediately investing in new or more complex plugin effects. Thanks to all the technological innovations in home recording, these onboard effects can deliver great results if you’re on a budget.
Studio-quality sound without the studio price tag
Recording high-quality acoustic guitar sounds at home doesn’t have to be an expensive undertaking. By setting up your space thoughtfully, investing in key pieces of gear, and focusing on your technique and performance, you can capture great sound without breaking the bank. Home recording empowers you to explore your creativity at your own pace—so take the time to experiment, refine your setup, and enjoy the process of making music on your own terms!
For more resources, check out the Gibson Gazette—home to acoustic guitar maintenance tips, artist interviews, and more.

